
Learn how to upload your very own course at Jiu Jitsu X and take your place alongside some of the best instructors on the planet.
Are you an instructor looking to create your own Jiu Jitsu course? If so, this blog post is for you! In this article, we’re going to walk you through the simple and super fast process of getting your course up on Jiu Jitsu X. The best part about it? It’s completely free. You’ve worked hard on your Jiu Jitsu. Now it’s time to share your knowledge and all of your skills with the world…
… and get paid doing it.
Create a list of techniques that you know you can teach well, and you know students will want to see from you!
Chose something that you specialize in and that you have had success with on the mats, like leg locks for example!
Now that you have your BIG IDEA, it’s time to brainstorm the individual sections that will make up your course. Think of your BIG IDEA as the forest: The sections will be your trees, and the individual techniques will be your leaves. Keep in mind, to make a real forest, these smaller parts need to be organized and make sense as a forest. Ensure these sections you come up with relate to and follow on from each other logically.
Each section must build upon the content from the section before it. Think of it like a movie, to make sense it must have a beginning, a middle, and an end. Continuing with leg locks as our example, you could look to break it down into:
Ok, you’ve got your BIG IDEA, you’ve broken it down into a logical flow for your potential viewers. Now it’s time to teach. Guided by the section titles, brainstorm all to the techniques you want to add. Try to think of the most valuable moves that will give your potential student the most wins. If you find that some of the techniques you come up with link in some way, try to keep them in a logical order. For example:
Heelhook X > What to do if your opponent does Y > What to do if your opponent does Z
The two most important things to ensure the quality of your recordings is video and audio. At the very least, you’ll need a cell phone that can record footage that is at least 1920×1080.
One of the best ways to control the quality of your video and audio, especially when your equipment is limited, is to find the right location. Choose a well-lit space where you won’t be interrupted. Avoid anywhere that will be noisy or have people talking in the background. Try to avoid filming during peak traffic if your location is near a main road or business area.
Your camera (more than likely your cell phone) should be on a stable surface so it doesn’t shift while recording. Avoid setting it up so that you are recording at too extreme of an angle. If you’re standing during your techniques, don’t place your camera on the ground, and vice versa.

To help people that are watching your course differentiate between you and your uke, you’ll both want to wear contrasting colors. So, for example, if you wear a black gi, have your uke wear a blue or white gi. Keep this in mind for the background too. If the wall behind you is white, neither you nor your uke should wear white.
It makes life a lot easier if you record each technique individually. Start the recording, teach the technique, stop the recording, then do the same for the next one. It’s also important to be yourself! Let your personality show! People want to learn from you AND feel like they’re getting to know you.
These are simply videos of you talking into the camera. Intro — Introduce yourself, thank people for buying your course, tell them what they will learn from it, how it is structured, and say something like “now let’s get started” (this will be the first video in the course).
Outro — Thank people for watching your course, tell them where they can find you on social media, and end the course however you see fit. If you plan to update your course with more videos, this would be a good time to mention it (this will be the last video in the course).
In our final step before learning actually how to upload your course, you’ll need to take some photos for marketing purposes. Your photos will be used to advertise your course & to create your cover image. Don’t worry, our graphic design team will handle putting the cover together for you.
Just ensure that:
Email your photos to: [email protected]
Choose 5-10 of your best techniques, and have someone take a photo of you and your uke holding a position.
Have someone take 3-5 photos of just you, facing the camera.
Some options include:
There are many options for free editing software, such as Adobe Premier Rush, Canva, Movie Maker, etc. If you’ve recorded each technique individually and didn’t pause in the middle of teaching anything, you shouldn’t really have any editing to do.
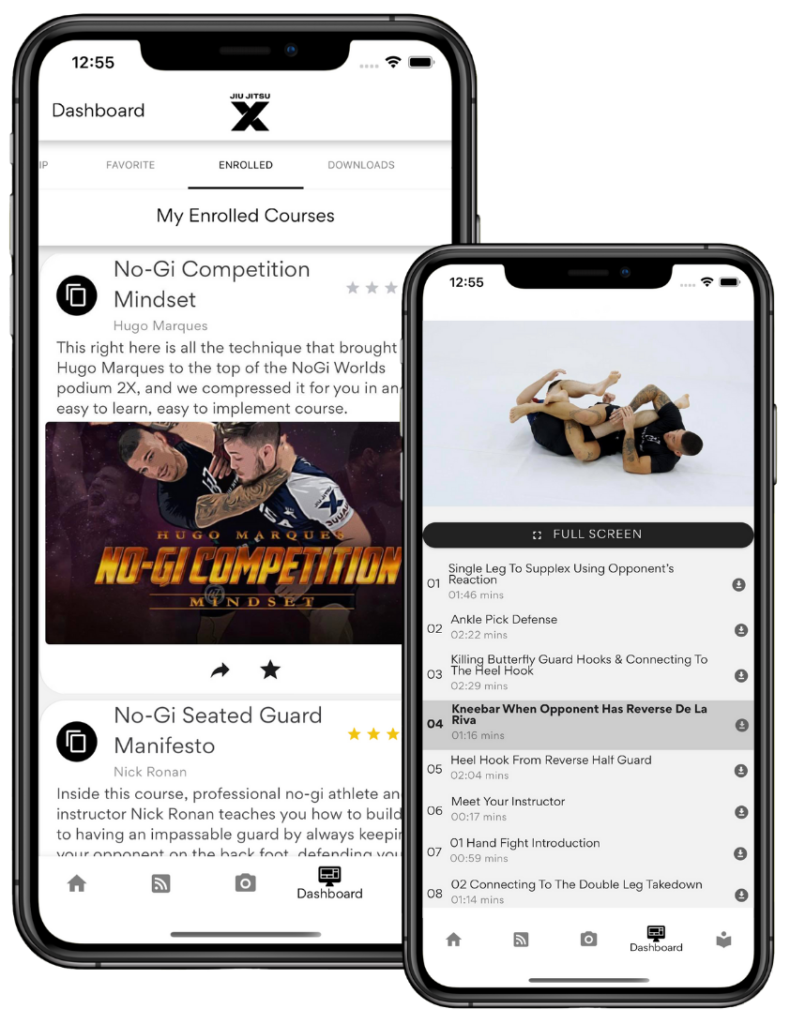
You can upload your techniques straight to the Jiu Jitsu X app, so make sure you have that downloaded and have set up an account. While naming your course and techniques, make sure you’re balancing creativity and clarity. It can be tempting to come up with unique titles, just make sure they also clearly reflect your content…
The best way for your potential students to know you’ve got the knowledge they want – and to sell more of your courses — is to clearly label each video title based on the problem it solves for them.